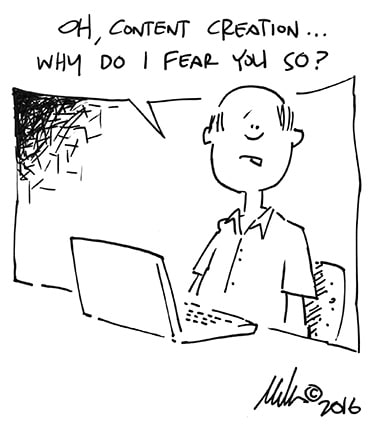
A blank page can be intimidating, but it doesn’t have to be. We’ve broken the content writing process apart into 4 basic steps so that you can easily start creating content for your website.
Before starting these steps, make sure you’ve created a sitemap for your site.
Step 1: Identify the purpose.
You don’t want to include a page on your site “just because” ─ it needs to add value to your user’s experience. Let’s think about it from your perspective. You’re visiting a new website to evaluate if you want to do business with a company or not. What do you want to know?
- What kind of experience do they have?
- What do they offer that no one else does?
- Are they legitimate and/or trustworthy?
- Who is on their team?
These questions (and any others that you may have asked yourself) provide a guide for what we need to include on the About page.
Step 2: Make an outline.
This is a very important, yet simple, step. Don’t let the word ‘outline’ deter you. We’re just answering the questions you came up with in Step 1.
Page content outline example:
- Company Experience
- Working in the web business for 16 years
- Built thousands of custom website projects
- Specialized team members
- Unique Details
- Excellent customer service with many ways to connect
- In-house secure website hosting
- Own and publish a local monthly magazine
- Brand Voice
- Friendly
- Reliable
- Professional
Review your content outline and make sure that it covers everything you’d want to see on the About page if you were target audience.
Step 3: Tell your story.
The hardest part is over. You’ve identified all parts of the story ─ now, you just have to tell it. It doesn’t have to be long; about 300 words should do.
Most important content first.
Prioritize your content outline so the most important details come first. Not sure what’s more important? Refer to your business goals and website purpose to determine what details provide the most support or speak loudest.
Once the order is set, type it all up and spell check for any typos or grammatical errors. It’s always good to have a second set of eyes on your content before you publish it. If you have another person in your organization, ask them to review it.
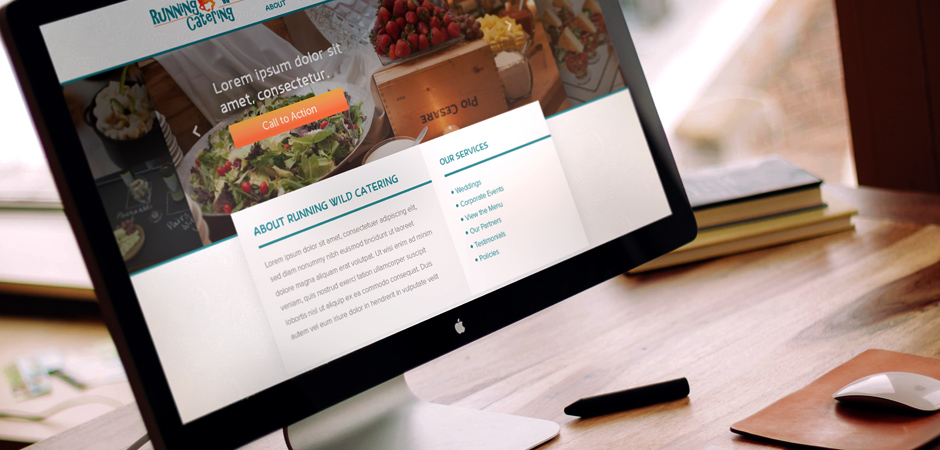
Step 4: Add visual interest.
You’re done! Well, technically ─ but I bet your page looks really boring.
Effective content needs to be easy for people to scan and quickly find the information they need. Enhance your content with some relevant visuals. Make sure you include (where appropriate):
- Headings
- Images and/or Icons
- Bullet Lists
- A Call to Action
Save all your changes and make it live.
You made it. Now what?
Once you’ve worked through each step for your About page, move on to your Services page. Then, steadily work through each page in your sitemap ─ completing all the content for your new website.